10 Oil Pastel Techniques & Tips To Help You Get Better FAST
10 Oil Pastel Techniques & Tips To Help You Get Better FAST
This post may contain affiliate links. We may receive a commission on products purchased through these links. To read how this site makes money click here.

From the onset, oil pastels look like and incredibly easy medium to master.
Afterall, how complex can a stick of pigment and binder really be?!
As simple as oil pastels may look – this medium is extremely difficult to master.
Even those artists that come from a background in the ancient mediums of oil painting can quickly get tripped up on how this particular medium interacts with the surface.
Simply put…
…there is no other medium quite like oil pastels.
But if you just got a new set of top-rated oil pastels and are looking to expand your creativity, we wanted to put together this guide to help you out on your journey.
After employing some of the techniques used by artists featured in many of the videos below, you will begin to stretch your creative limits even further.
So, buckle in and let’s get started on learning more about beginner, intermediate, and advanced oil pastel techniques:
Table of Contents
10 Oil Pastel Techniques by Sakura of America
In this video Mr. Otter Studio goes over various blending techniques you can use with oil pastels which include blends between the following:
- Color + white
- Color + gray
- Color + black
- Color + white + black
But beyond the blending that the artist goes over, you will also learn about varying pressures with your pastels (and the results you will see), as well as effects (which include stippling, scrumbling, and sgraffito).
After watching the entire tutorial, you should have a better understanding on how you can use your oil pastels a bit differently going forward.
6 Oil Pastel Techniques by Jackie Ruzicka
Very similar in nature to the video mentioned above, this oil pastel technique video by Jackie is broken out into 6 sections to help demonstrate on how to use your oil pastels a bit better.
In this video Jackie goes over the following techniques:
- Blending
- Layering
- Short Strokes
- Long Strokes
- Pointillism
- Drawing
The video quality on this one is a fair bit clearer than the one made by Sakura, so those following along at home should have no problem seeing the details that Jackie lays down on the oil pastel paper.
The Basics Of Oil Pastels by Lets Create Something
I really liked this video because it’s dead simple and requires you to get your hands dirty.
Here we will see how even the cheapest of oil pastels can still make for breathtaking results (a mantra repeated here all the time that its practice not the price of supplies that matter).
In the video you get to see how both a flower and whale are made by only a few oil pastels that are also blended with the tips of your fingers.
For those who like to skip ahead and get to the good stuff – the drawing part of the video starts at the 1:55 mark.
How To Dilute Oil Pastels
One thing that many artists tend to forget when working with oil pastels is that they are…well…made from oil!
As any oil painter will tell you, manipulating this medium is rather easy when you use the right solvents.
Here Gene Shaw walks us through how he will thin out an oil pastel drawing with simple paint thinner.
Now as a word of caution here – Gene uses hardware store paint thinner, which is really bad as contains a bunch of impurities.
Therefore, if you want to employ his technique we would recommend reading our odorless mineral spirits and turpentine post where we talk about why these are so different from your hardware store paint thinners.
Regardless of the solvent used, the results will be nearly identical (and much safer when using artist grade thinners).
Rule of 3s by Patrick Neumann
We mentioned this video once on our site before, but we really think it’s worth mentioning again. Here Patrick walks us through his technique when it comes to color selection with oil pastels.
He likes to employ what’s called the Rule of 3’s – selecting three colors from the same family and using them in your artwork.
This creates an analogous set of colors that will help your artwork appear more natural. It’s worth taking a look at this video fully to see these great little nuggets of information that Patrick shares with us.
Oil Pastel Speed Painting by Ellie Fine Art
Sometimes we don’t want to sit around and watch a lengthy tutorial with some artist telling you what they did every step of the way…
…and that’s completely ok!
I personally get a bit antsy about it sometimes too!
Anyhow, here is a speed painting by Ellie of a beautiful Bald Eagle that’s only 3:03 in duration.
Here you can see the various techniques and tricks she uses in her artwork to develop layers, highlights and more.
Impasto Landscape – Oil Pastel Painting Lesson by Madhubala Arts
Opposite of the speed painting mentioned above, here is a real time oil pastel painting by Madhubala that finishes into a breathtaking piece.
In all honestly, from seeing the video thumbnail initially, I thought this was an oil painting and the title of the video was incorrect.
But after watching the video, I was struck by the level of detail that the artist was able to achieve in this piece.
If you are interested in developing layers and want to blur the lines between oil pastels and oil paintings, check out this video, you won’t be disappointed.
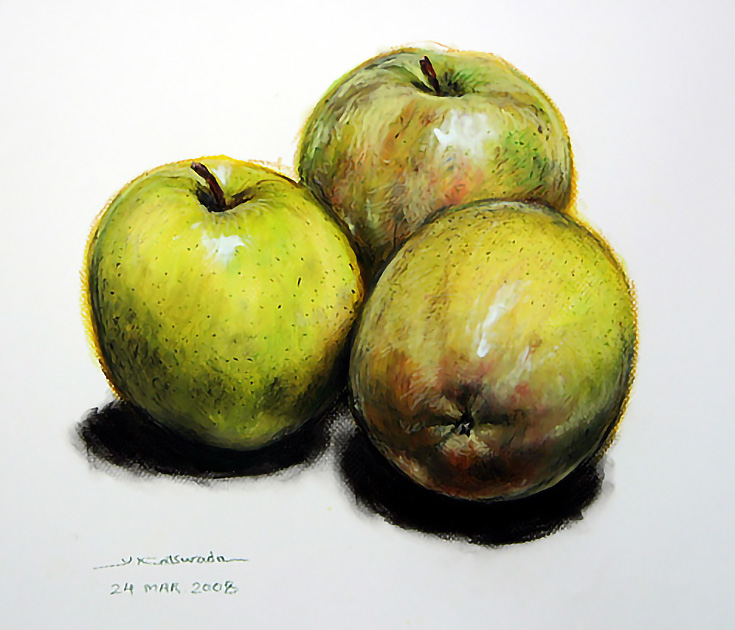
Baby Oil & Oil Pastels by Trista
While we saw earlier an artist use a solvent to breakdown the bonds between the oil and pigment within oil pastels (see: how to dilute oil pastels), in this video Trista takes the opposite approach and uses baby oil to extend oil pastels.
When mixing a bit of baby oil on a Q-Tip or paint brush, you can begin to brush out or extend the oil pastel to look much smoother in your artwork – and ultimately achieve a painterly like effect.
While the above video is 5:49 long, if you want to only see the part with baby oil application, skip ahead to the 3:49 mark where she begins applying it to the blue reflection of the apple.
Oil Pastel Tutorial – Parrot – by Mr. Otter Art Studio
The same artist that was featured in our first oil pastel technique video (see: 10 Oil Pastel Techniques by Sakura of America), in this video the artist goes over the reverse scratch method by transferring and transforming an ink drawing into a beautiful oil pastel piece.
It’s a creative method that the artist employs and one that is hard to put into words!
But if you are looking for a way to expand your creativity and to push yourself as an artist, check out the video above – you won’t be disappointed!
Galaxy Drawing with Oil Pastels by Deepak
Everyone loves a good galaxy painting, especially one made of oil pastels. In this video Deepak allows us to look over his shoulder as he demonstrates his method to creating a starry galaxy with oil pastels.
While the subject itself is captivating, what we really enjoyed, and the reason for its inclusion, is the techniques that artist uses throughout the creation of this piece.
Normally you would think with painting, the initial wash must go down first, but quite the opposite is happening here.
With a bit of masking tape magic, you can see how the artist is able to make the colors of the planets really jump off the page. But it doesn’t end with masking tape, check out the video to see some of the other slick techniques he uses.
Push The Limits With Oil Pastels
If there is any underlying theme of the above videos that we selected it’s that you must always push the bounds with oil pastels.
As we mentioned at the start of this article, oil pastels are notoriously hard to master.
So, take notes of the videos above, but don’t think that this is the end all be all when it comes to this medium.
Furthermore, we always want to emphasize time and time again that the supplies don’t matter as much as the artist holding the medium.
The biggest way to improve as an artist isn’t to buy professional grade supplies, but instead to get into the studio and practice regularly.
While it may seem frustrating and hopeless at times, know that with regular practice you will truly unlock the joys of creating beautiful pieces of art!
oil pastels: techniques for beginners

28 aug oil pastels: techniques for beginners
By Sydney Brink
 Have you been itching to try a new media recently? Ignite’s kit library has reopened! You can come in and check out our kits to help jump-start your creativity. I wanted to do something new, too, so I grabbed our oil pastel kit to give it a try. I haven’t used oil pastels since I was in high school—and even then I only received a crash course in them! Today I want to try my hand at it again, and you can follow along with me while we (re)discover oil pastels!
Oil pastels are a pigment, a wax, and an oil mixed together—they’re like big, soft crayons that emulate oil painting. They’re nice to use as an alternative to painting because they are significantly cheaper, require fewer supplies, are more portable, and are more forgiving than other media.
OIL PASTEL TECHNIQUES
 There are a lot of different techniques that go into a pastel painting—they are outlined in the books provided in our maker kits, but here’s my quick rundown of necessary ones:
- Stippling: Stippling is a technique that basically just means “lots of tiny dots”! In pastels, stippling is frequently used to put lots of colors next to each other, so that when you step back from the painting, the painting fools your eyes into mixing the colored dots together. Think Georges Seurat!
- Feathering: This is lots of quick, light, “feathery” strokes you make with the pastel crayon.
- Scumbling: This technique is laying color down in circles. If you “scumble” two colors together, they layer in a way that mixes the colors together.
- Blending: You can blend two colors that are side by side together using a paper towel, your finger, or a tortillion.
- Hatching: Hatching is just coloring by making parallel lines—using the edge of the pastel to get a thin line, using the top of it to make a large line, or varying pressure on the page with the pastel can all give you different effects.
- Cross-hatching: This is just the term for layering your hatching. If you make one set of lines up and down, the next layer can be side to side to create a darker tone!

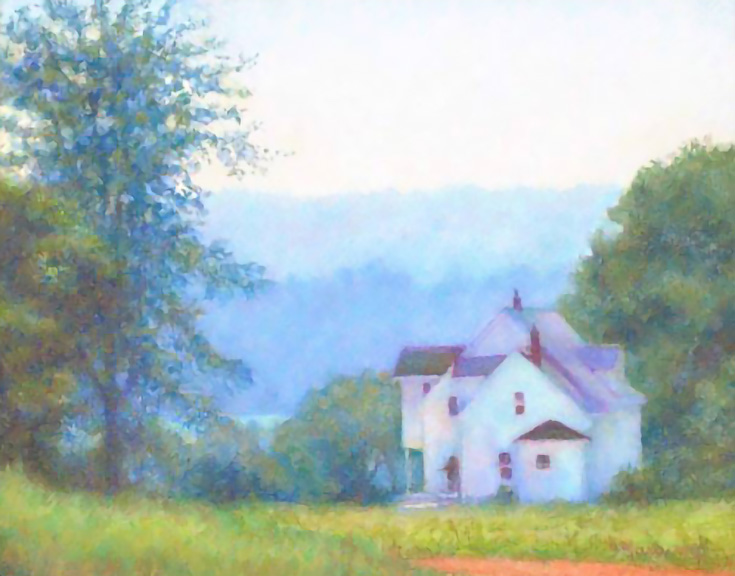
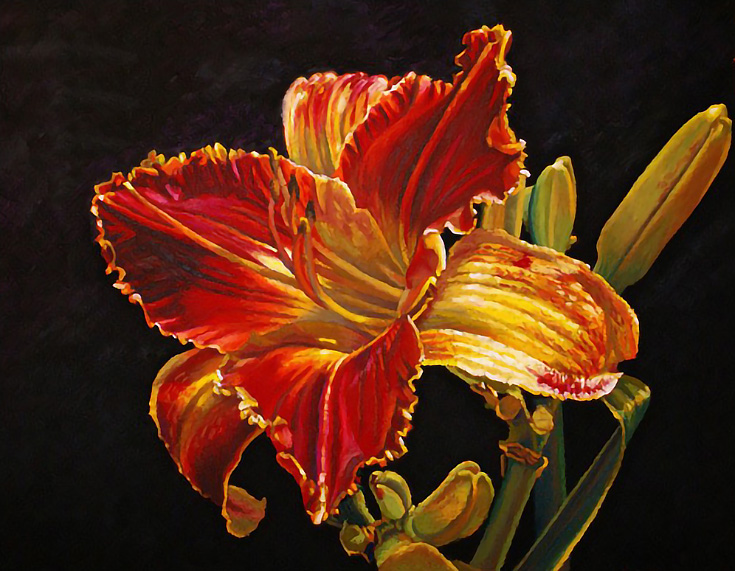
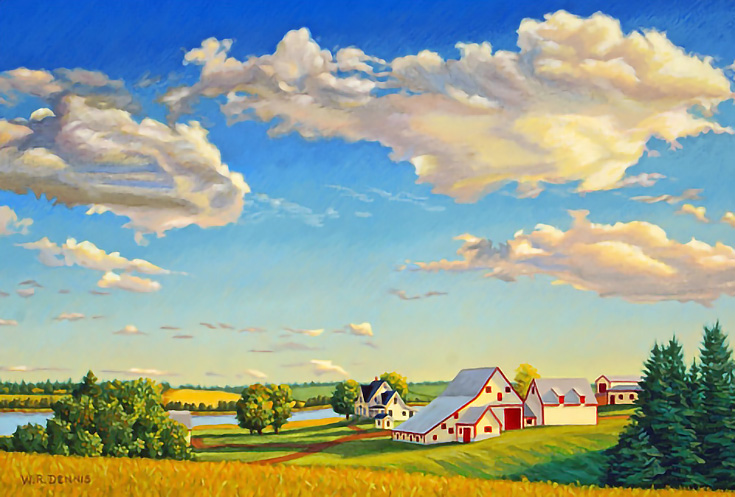
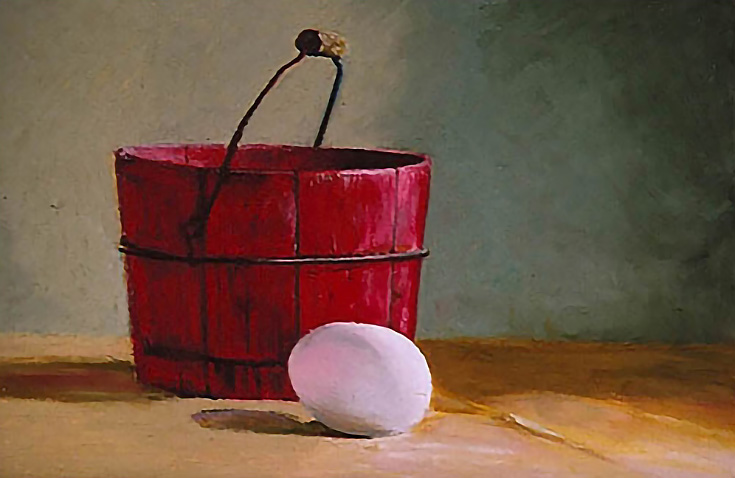
I used all of these techniques and the pastel colors provided in Ignite’s kit library to make a landscape, a portrait, and a still-life drawing. I think they turned out good despite this being my first time using them in a long time! Anyone can come down to Ignite and quickly make masterpieces out of pastels.

All images in this article have been used with permission and are copyright their respective artists. Click the images to visit the artists’ websites and learn more.
The first time I saw a set of oil pastels was at a drugstore in a very small display of art supplies. It cost a dollar and change for a set of 24, two dollars and change for a larger set of 36. The colors looked bright, the oil sticks were short, round and wrapped, and the box cheerily announced that everything inside was non toxic and safe for children.
Quick announcement - EmptyEasel has created a quicker, easier way for artists to have their own art website. Click here to learn more and get a simple art website of your own!I lumped it in with children’s watercolor sets and crayons, just from its price and presentation, and passed it by.
Later on in New Orleans when I was first starting out as a street artist, I reconsidered the medium. Compared to artist-grade colored pencils, oil pastels were very cheap.
After studying a package, I discovered that I could thin them with oil mediums and decided that it would be an inexpensive way to do some oil paintings, so I picked up a set of 24, along with a bottle of turpentine and some canvas boards, and got started.
I wasn’t a very good painter but the resulting thin-wash paintings were, as promoted, genuine oil paintings. I priced them appropriately between $5 and $10 and used the proceeds to buy tube oils and stretched canvases, soon leaving oil pastels behind.

I had no idea that professional-grade oil pastels had existed since 1949 when Henri Sennelier created a soft creamy oil pastel stick for Pablo Picasso.
A short history of oil pastels
The very first oil pastels were made in 1925 by Sakura and named Cray-Pas because they were a cross between the clean dustless ease of crayons and the brilliant saturated colors of traditional soft pastels.
Talens of Holland also created some Panda oil pastels in 1930, but the medium really took off when Picasso and painter Henri Goetz spoke to Henri Sennelier about creating something with traditional artist pigments.
Goetz wanted something he could use to start an oil painting: a sketch medium that would blend right in with painted layers. Picasso on the other hand just wanted to leave his brush behind and draw or paint directly on the canvas.
Sennelier ended up making a range of 48 colors that were heavy on the subtle grays and earth tones that Picasso requested. He produced 40 sticks of each color, and Picasso bought 3/4ths of those, so Sennelier put the remaining 10 of each in his shop where they sold out fast. Naturally, he continued to make them, and Senneliers became the first artist grade oil pastel available.
Oil pastel brands for sale today
Unlike soft pastels or colored pencils, professional oil pastels are not available from dozens of manufacturers. There are only a few good artist-grade brands, each of which has its own proprietary formula.
Sakura still produces Cray-Pas oil pastels, but in several grades—children’s Cray-Pas Junior Artist; student-grade round wrapped Expressionists, which many artists use for sketching to save money; and the last and best are artist-grade Cray-Pas Specialists, which are square wrapped sticks.
Cray-Pas Specialist pastels are the hardest oil pastel sticks you can find, followed in order of hardness by Cretacolor Aqua Stic, Erengi Art Aspirer, Caran d’Ache Neopastel and Holbein. The softest are Sennelier Oil Pastels which are now available in 120 colors.
Van Gogh Extra Fine Artist Oil Pastels are usually billed as good student-grade oil pastels, but share many qualities with these artist-grade brands. Depending on your application, they may be good enough to include in the list above.
Oil pastel prices are comparable to artist-grade colored pencils or soft pastels without quite reaching the price of high-end soft pastels.
In addition, only two brands, Holbein and Sennelier, include toxic mineral pigments such as Cadmiums and Cobalt. All others use strictly nontoxic hues.
What to buy when starting out
If you’re interested in trying artist-grade oil pastels you should either look for an inexpensive small set in one of the major artist-grade brands, or choose your favorite painting colors and put together your own palette from open stock.
Compare open stock prices to the cost of sets—for some brands there’s no real bargain to buying large sets other than getting the box or tin designed to store them.
Two good books are available for oil pastels: Oil Pastel for the Serious Beginner and Oil Pastel: Materials and Techniques for Today’s Artist. The first is by John Elliott and the second is by Kenneth Leslie.
Either one is a good beginning book for artists interested in oil pastels, but Kenneth Leslie’s book is much more exhaustive and varied in its treatment of the medium.
To my pleasant surprise, both of these books demonstrated the gorgeous realism that can be achieved with artist-grade oil pastels. Just as with traditional oil paints or colored pencil, you can create strong Impressionist effects, layer colors, and re-work areas as necessary to get the fine detail of realism or hyper-realism.
Tips and techniques for using oil pastels
Like colored pencils, the hardness of each stick contributes to a different purpose. Many artists combine different brands of oil pastels to achieve different effects.
Firm brands like Cray-Pas Specialist or Erengi are better for early layers, fine details and control. Softer products like Holbein or Sennelier can be used when the surface tooth is fully saturated over heavy layers of the firm oil pastels.
Oil pastels can be used wet or dry on any support: paper, board, canvas, glass, metal, wood. . . even rock. Some surfaces work better with a coat of gesso, for preservation or more tooth, but you can be confident in using an oil pastel over any kind of found objects in a collage or mixed media piece.
Colors may be blended completely on the surface, scumbled over each other in layers, or blended on the palette and then applied with a knife or Color Shaper tool.
Keep in mind that they should not be applied heavily under a traditional oil painting without a good thinning of turpentine, as oil pastels have mineral oils in the binder that never completely dry. Treat them as “extra fat” in relation to oils in mixed media—the oil pastels layers should be the outermost.
As I found out in New Orleans, it’s also easy to use a wet brush to mix thin washes and paint directly from the oil pastel sticks, or just wash medium over areas already drawn for that blended look.
New tools have also made it easier to get fine detail and painterly effects. Rubber-tipped Color Shapers in both the gray firm texture or the dark gray Clay Shaper extra firm texture are very good for pushing color around and applying small details. (The soft white-tipped color shapers are better with soft pastels and should be kept separate.)
Sgraffito effects are much easier with oil pastels than with crayon. Laying a strong layer of white or a lighter color on first and then following it with other opaque layers allows you to scrape it back to reveal small details or create sharp lines in the work.
This is an old oil painter’s trick—often accomplished with the end of a brush—but it works just as well in oil pastels and is one of the important keys to realism.
Temperature affects the firmness of all oil pastels, student or artist-grade. When warm, they’ll be softer and flow more easily. When cooled, they become more firm.
This can help in both directions—if your surface is saturated and won’t take more color, you can warm the pastels in your hand while the painting is in the fridge cooling to firmness. If your oil pastels are too soft to control (a common complaint about Senneliers) chilling them for a while should make them easier to handle.
Thin washes are also possible with any oil painting medium, from linseed oil to odorless turpentine or alcohol.
One oil pastel brand, Cretacolor Aqua Stic, is watersoluble and has a medium-firm texture with a range of 80 colors. This allows artists to create partial-wash effects within the same painting. An area painted with any of the other oil pastel brands won’t melt when water is sprayed on to dissolve the Aqua Stic passages.
Another major advantage of Cretacolor’s Aqua Stic brand is that artists with a strong sensitivity to oil painting mediums can still use them. Aqua Stic oil pastels can also be combined with any other water-based mediums, yet are still firm enough to sharpen with a crayon sharpener or knife to get fine details.
Supports, glazes, travel considerations, etc.
Oil pastel paintings should always be glazed when finished, unlike traditional oil paints which cure hard within a few months after finishing a painting. Some brands of oil pastels do harden somewhat, but not to the level that an oil or acrylic painting will, which means the surface can’t be dusted without smearing the paint.
Two brands of fixative are formulated specifically for oil pastels: Caran d’Ache Protector Fixative is useful for preventing wax bloom, something that Neopastels may suffer from just as most colored pencils paintings do.
Sennelier D’Artigny Oil Pastel Fixative forms a hard clear varnish with several thin applications and some artists will use it to just varnish heavily rather than glaze their finished paintings.
Traditional pastel papers and supports work just as well for oil pastels, especially the sanded pastel supports like Ampersand Pastelbord, Wallis Sanded Pastel Paper and Colourfix Sanded Pastel Paper. Any extra tooth helps the artist add more layers and depth to the painting.
My personal favorite is Colourfix. Using clear Colourfix primer as a barrier over my sketches, I can keep my graphite or charcoal from blending into the lighter oil colors.
Other advantages of oil pastels (besides being dustless) are their size, portability and ease of use—especially for plein air applications. Many artists use oil pastels for field studies because the color ranges are just as vibrant as traditional oil paints, but much more handy for carrying around.
If you are flying to an exotic location and want to bring some art supplies, oil pastels should always be described as “artist crayons” to the customs people. (They’re nonflammable, non-explosive and completely safe).
You’ll want to leave your mineral spirits at home, of course, and then pick some up once you arrive at your destination.
The more that I discover about oil pastels, the more interesting they become—and the more I realize that what you can do with this medium is only limited by your imagination and skill.
10 Quick Tips for Using Oil Pastels
What follows are some oil pastels tips and tricks I have learned over my years of creating oil pastel art.
This list is some of the main items I think that can be helpful for both beginners and experienced oil pastelists as they work with the medium.
These are my top 10 quick tips for working with oil pastels!
- Don’t expect greatness right away.
Oil pastels takes time and practice to develop the skill. - Use artist quality oil pastels, not the cheaper brands. Trust me, there is a difference! (for example, Sennelier)
If you do use a cheaper brand, at least get a few sticks of artist-quality to mix together with. - Use paper towels to keep your oil pastel sticks clean and free of other colors.
Oil pastels are a very vibrant medium. Try to keep the individual sticks clean as you work. - You can blend with your finger, but also try blending using tortillions, brushes, or cloth.
For more information on blending, read my article Blending with Oil Pastels. - Experiment with it!
Oil pastels are a very unique drawing medium. You can draw like with regular pastels but you can also do things like use solvents and mix colors with a brush together.
You can mix oil paint with oil pastels, but the oil paints should go on first (underneath the oil pastels). - Sketch your composition at smaller scale first.
Use pencil or colored pencils to sketch out your idea before beginning the actual oil pastels piece.
Make several sketches – not just one – to compare with. - Try out a variety of surfaces.
Oil pastels work on a variety of surfaces. That is one of the reasons oil pastels were created in the first place – so that they can work not just on paper.
Surfaces to try include:
Various drawing papers
Colored or Toned paper
Canvas
Pastelbord
Hardbord
Wood
Mixed Media Paper - Take breaks as you work.
This is true for any medium, but sometimes it helps to take a step back and return to your art later on, so you can see the progress with a fresh perspective. - Fill in bigger blocks of color first, then add details later.
Yes many artists are excellent at filling in detail right away. With oil pastels, details should be delayed until later on. - Bookmark this website, or follow the Facebook page.


Comments
Post a Comment