This page contains a collection of free Art resources for use by middle and high school teachers. You are welcome to use these resources within your own Art classes and teaching programmes, as long as the source of the image is credited as www.studentartguide.com. We are more than happy for links to these images to be shared via social mediums such as Facebook or Pinterest, however publishing these materials in any other way is not permitted: see our Terms and Conditions for more information.
As most senior Art students undergo a personal learning programme in which they explore individual topics and themes, these resources are likely to be most beneficial for art students aged 12 – 15 (at these ages students typically follow more teacher-driven programmes). These resources are designed to ensure students have a good skill base before entering senior Art programmes. It is hoped that these exemplars will be of assistance to many busy Art teachers!
Enjoy!
Resources for teaching Art
This handout illustrates several acrylic painting techniques and introduces students to the idea of applying paint using a range of tools and materials in addition to a brush (resources for Art teachers created by www.studentartguide.com)
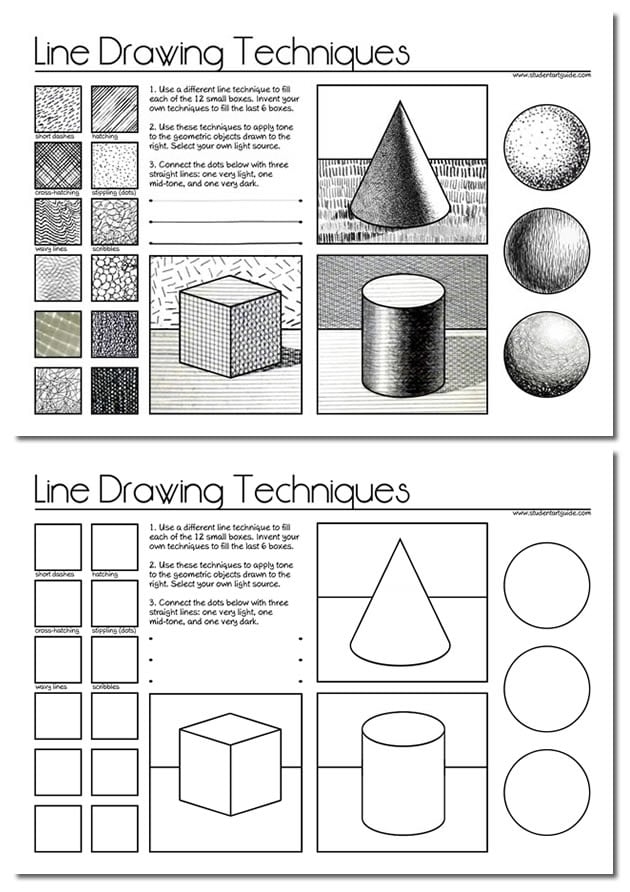
This worksheet is part of our Line Drawing Guide. Please view this article to access the high-resolution downloadable PDF version of this worksheet.
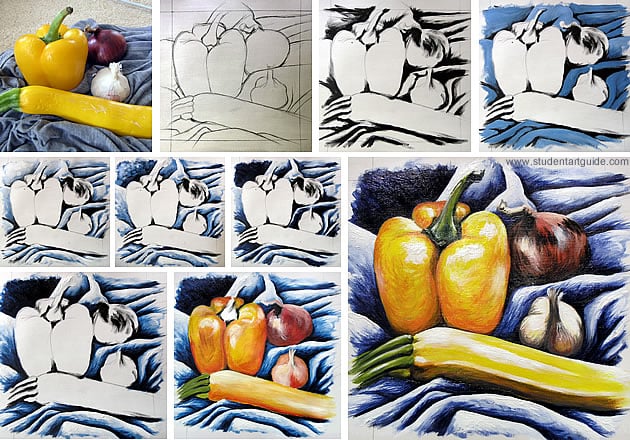
A step-by-step illustration showing you how to paint with acrylic using a flicking brush technique: building up layers to create a simple still life painting (resources to help with teaching Art, created by www.studentartguide.com).
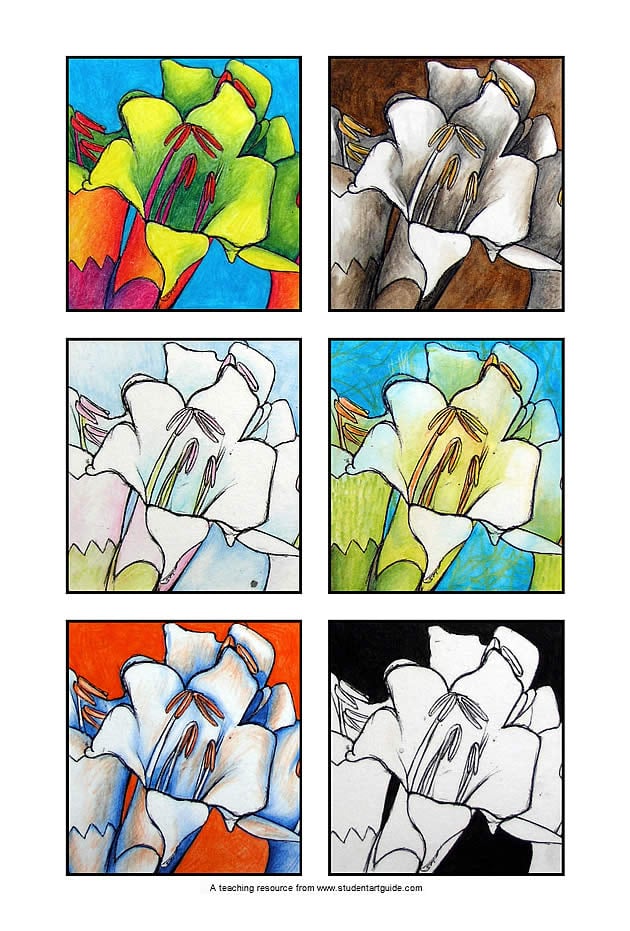
This is a great exercise for art students: a painting of a weaving, with every strand of flax painted / drawn using a different medium or technique. It encourages creativity with media, as well as allows student to practise their blending and application of tone. The ‘under/over’ nature of the weaving also helps students understand how to create depth and space within their drawings. (Art resources from www.studentartguide.com).This handout is used to stimulate discussion about the effect of colour. A simple exercise, this introduces students to colour schemes such as: monochrome, harmonious, complementary, subdued/minimal, realistic and ‘earthy’. Students can then go on to complete a similar exercise using one of their own drawings. (Art resources created by www.studentartguide.com).
This is a straight forward handout to help with perspective drawing lessons: one point perspective + two point perspective (free art teacher resources from www.studentartguide.com)
This perspective exercise is part of our Guide to One Point Perspective, which contains several handouts and free teaching resources.
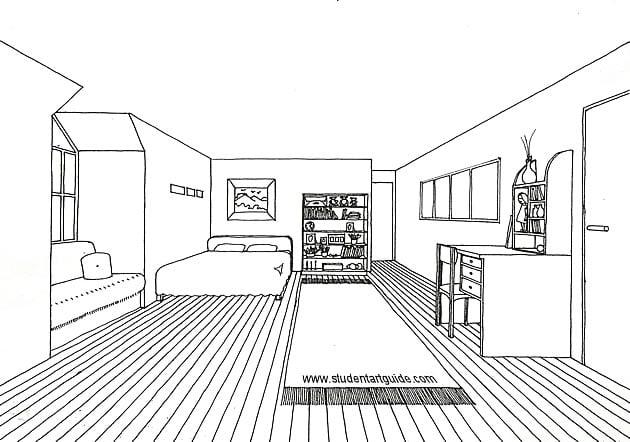
An age-old teaching exercise, the one-point perspective drawing of a room never fails to engage students. This example illustrates how the basic one point perspective ‘box’ can be cut and modified to create a more complex interior space. (Art resources for teachers created by www.studentartguide.com)
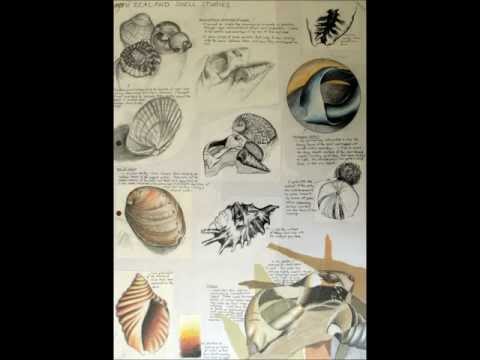
Step-by-step shell painting by Amiria Robinson, www.studentartguide.com
STEP BY STEP OIL PASTEL PORTRAIT USING SCRAPING TECHNIQUE March 12, 2020 Team Camlin Articles Leave a comment Want to try your hands on a simple, yet interesting way of creating portraits? We have something special for you! Here’s a quick guide on how you can create a quick portrait with an easy Scraping Technique using Camlin Oil Pastels. What you will need: • Board • Camlin A4 Size Drawing Paper • Double Sided Tape • Camlin Oil Pastels & Scraping Tool Step 1: Take a blank A4 size Camlin Drawing Paper and tape it onto a board for support, with a Camlin Oil Pastel box and Scraping Tool by your side. Step 2: Grab some bright oil pastels from the wide number of shades available in the Camlin Oil Pastels box and start colouring various patches to create a colourful and vibrant base. Step 3: Using the black Camlin Oil Pastel, add a layer of black colour on the base colours, and keep colouring until you cover the whole paper. Step 4: It’s now time t...
Art Material Glossary Facts in books, information in glossaries, the ability to use them in our heads! If you are new to the arts you may have problems to decipher certain art material terms used in the arts field. Or you wonder what brand to get. To help you along, I added this little glossary as a guideline to make it easier to find the right materials when starting to draw or paint. Save Drawing Materials GRAPHITE PENCILS There are varied types of graphite pencils. When you buy a set, make sure that you get one with a 4h and 2h otherwise buy them single. All brands are really fine. I personally use the Faber Castell graphite and Staedler pencils. Staedler is cheaper and a little lighter than the Faber Castell. Faber Castell are the only pencils with an added inner core strength so that the pencils don't break inside when they fall. SKETCHPAD The paper we draw on is of importance. In my time as commercial illustrator I tried man...
5 Traits to Be a Great Art Teacher Home / 5 Traits to Be a Great Art Teacher 2 years ago Nick Gehl 3 Comments Being a great art teacher throughout your career is a goal worth striving for, but a challenging one to accomplish in the ever-changing world of art education. Mediums, styles, and projects will evolve. Philosophies of art education will change, and goals in the classroom will shift. So, what makes a great art teacher over time? It’s not what they do, but rather, how they think. The great art teacher possesses a collection of traits that are applied regardless of the class they are teaching and mediums used. They are universal. These traits did not just show up in the great art teacher’s practice one day. Each trait was shaped and honed through intentional activities until it just became natural. Great art teachers… Possess A Growth Mindset Highly effective teachers approach everything as a learning experience, even the dreaded professional development ...









Comments
Post a Comment